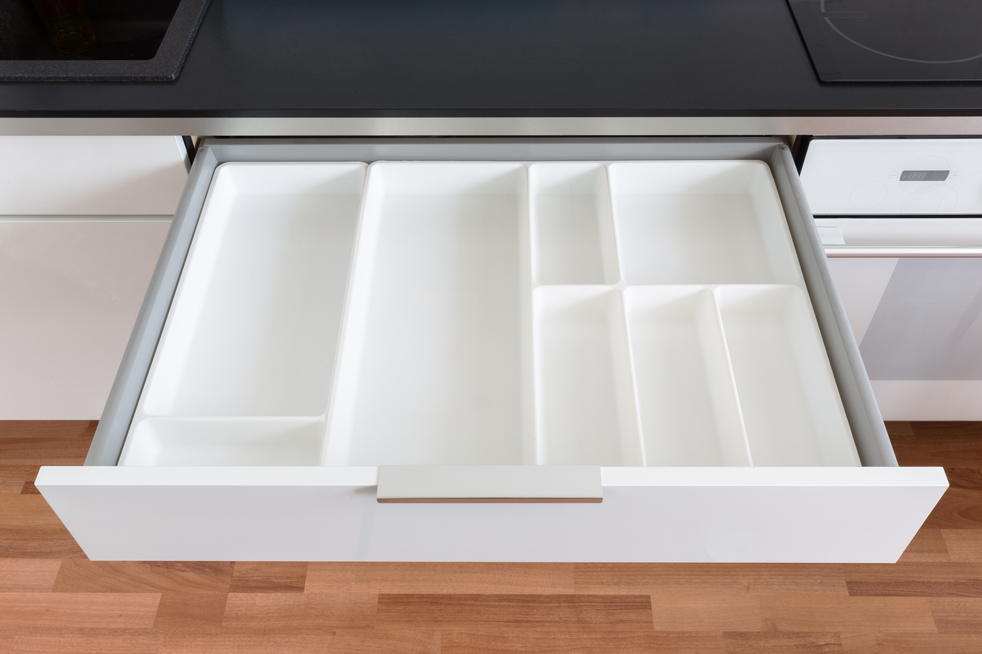
How to Install Drawer Slides
Imagine smooth, satisfying drawer action – no more clunky slams or sticking shut. Upgrading your drawers with slides isn’t just about convenience; it’s about adding a touch of polished professionalism to any home. But if the thought of tackling this project yourself has you sweating, relax! This guide will walk you through the basics of installing drawer slides, even if you’re a DIY rookie. You’ll also learn how to install soft close drawer slides, which are a great feature to prevent noise and damage.

Types of Drawer Slides:
First things first: know your hardware. There are several types of drawer slides, each with its own quirks and benefits. Let’s explore the most common ones:
- Ball Bearing: The smoothest operators, featuring precision tracks and ball bearings for effortless gliding. Ideal for heavy drawers or frequent use. To learn how to install ball bearing drawer slides, you’ll need to measure the drawer opening and the slides, and attach the slides to the cabinet and the drawer with screws.
- Undermount: Hidden beneath the drawer for a sleek, seamless look. Perfect for minimalist designs or drawers you want to appear frameless.
- Center Mount: Installed in the center of the drawer and cabinet, offering good stability and side-to-side movement. A versatile choice for most drawers. To learn how to install center mount drawer slides, you’ll need to measure the drawer length and cut the slides accordingly.
- Roller: Budget-friendly option with rollers for basic sliding functionality. Works well for lighter drawers or occasional use. To learn how to install roller drawer slides, you’ll need to measure the drawer width and depth, and attach the slides to the cabinet and the drawer with screws.
- Wooden: Traditional and sturdy, but require more maintenance and can be prone to sticking. Best for rustic aesthetics or specialty projects.
- Side Mount: Installed on the sides of the drawer and cabinet, providing good support and stability. A common and durable option for most drawers. To learn how to install side mount drawer slides, you’ll need to measure the drawer width and depth, and align the slides with the drawer front and back.
Once you’ve chosen your slides, gather your tools: a tape measure, level, pencil, drill, screwdriver, and some clamps (optional). Don’t forget the safety glasses! Learning how to install undermount drawer slides, can be fun. To learn how to install bottom mount drawer slides, you’ll need to measure the drawer length and cut the slides accordingly.
How to Install Drawer Slides
Step 1: Measure Twice, Slide Once:
Precision is key! Measure the drawer opening’s width and depth, and mark the mounting points for the drawer slide brackets on both the cabinet and the drawer box. Remember, most slides have some side-to-side adjustment, so don’t stress about being millimeter-perfect at this stage.
Step 2: Prepping for Takeoff:
Drill pilot holes at the marked points using a drill bit slightly smaller than the screw diameter. This prevents wood from splitting and ensures a clean, secure installation.
Step 3: Slide On In:
Attach the drawer slide brackets to the cabinet and drawer box using the provided screws. Tighten them snugly, but don’t over-do it. Remember, you’ll need some wiggle room for adjustments later.
Bonus Tip:
Use a drawer slide jig for extra precision and ease of installation. These handy tools ensure perfect alignment and can save you time and frustration.
Testing, Testing, 1, 2, 3:
Slide the drawer in and out, checking for smooth movement and proper alignment. If something feels off, loosen the screws slightly, adjust the slide, and retighten. Repeat until you achieve gliding perfection!
Voila! You’ve done it! Now sit back and enjoy the satisfying clunk-free operation of your newly upgraded drawers. Remember, if you encounter any snags, don’t hesitate to consult the instructions that came with your specific drawer slides. And for more complex projects or heavy-duty drawers, it’s always a good idea to seek the help of a professional installer.
Concussion
Ready to take your DIY skills to the next level? Head over to Brown Building Contractors for all your home improvement needs and expert advice. We’re here to help you turn your home into a haven of smooth-sliding functionality, one drawer at a time! Contact us now for our team to help you with you project.
